






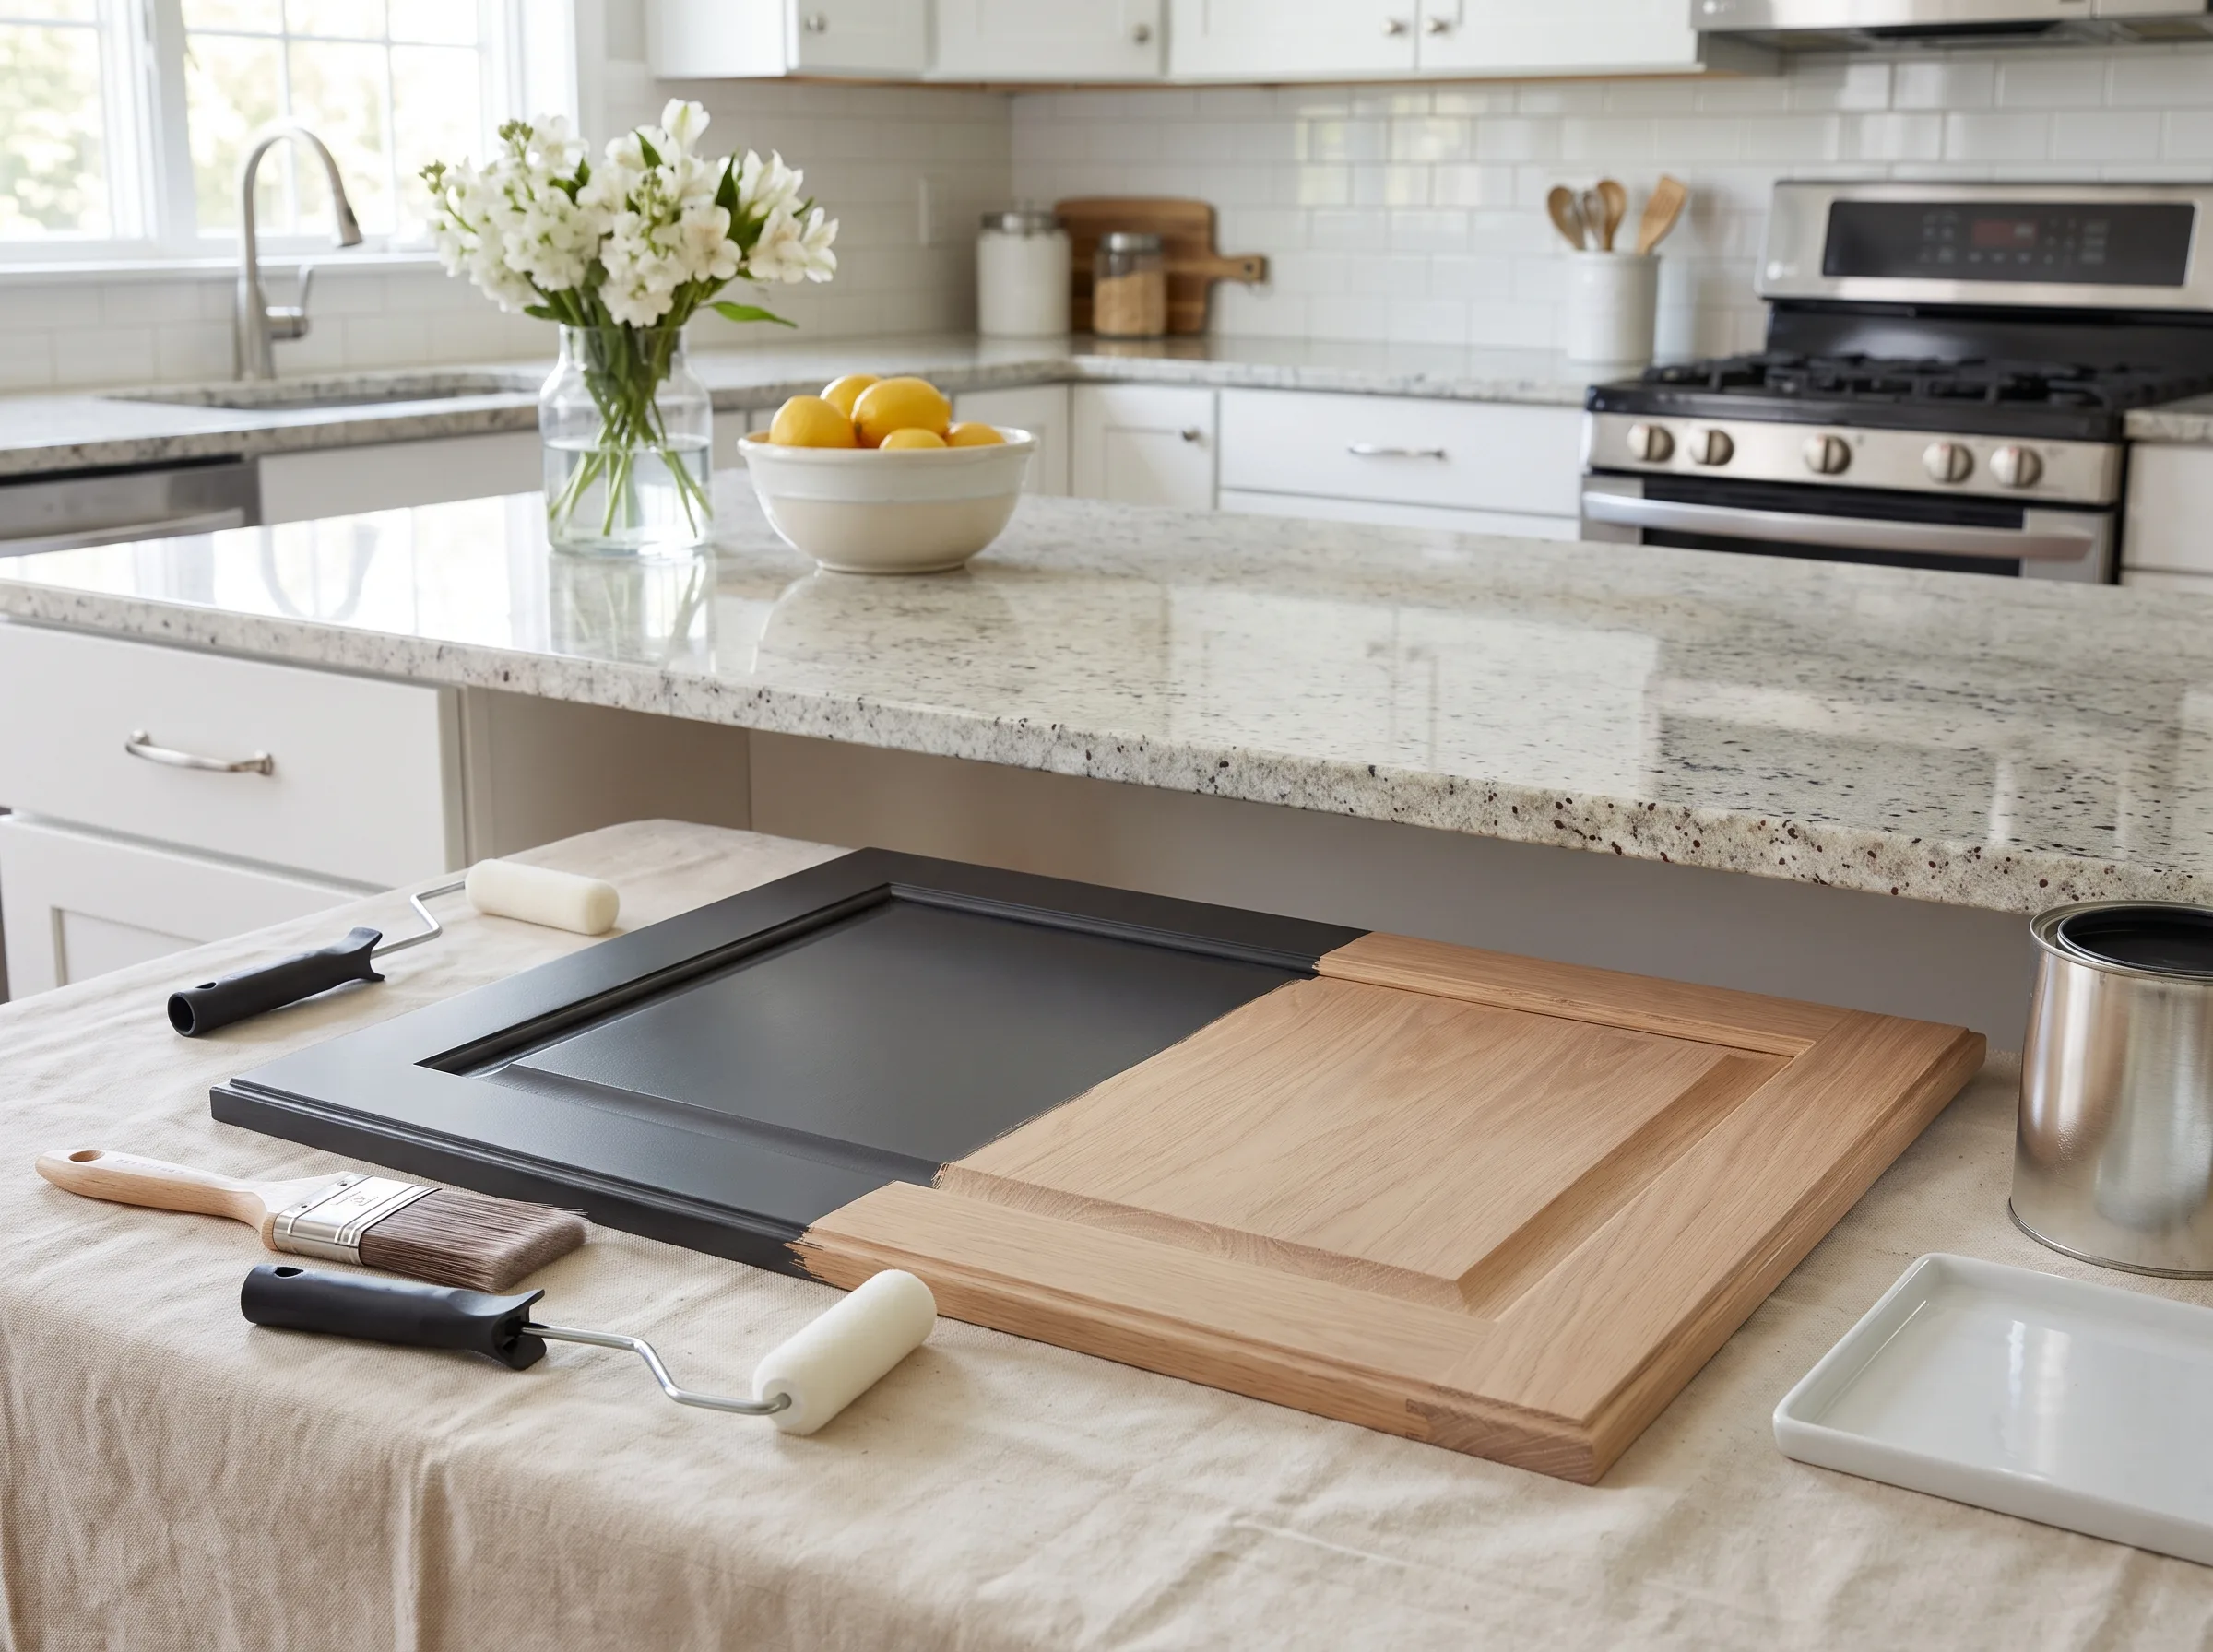
Cabinet Painting: Complete Guide to Kitchen Transformation
Your kitchen deserves a fresh look - without the chaos and expense of tearing everything out. Cabinet painting delivers exactly that: a dramatic visual transformation achieved in a fraction of the time and cost of full replacement. Whether your doors look dated or your color no longer suits your style, the right finish changes everything.
Why Painting Beats Replacing
Choosing cabinet painting over full replacement saves homeowners significant money while generating minimal disruption to active households. A professional approach consistently delivers:
- A renewed kitchen aesthetic without removing or replacing existing cabinet structures.
- Durable, smooth finishes that resist chipping, fading, and daily wear.
- A faster project timeline that keeps your household running normally throughout.
What This Guide Covers
From surface preparation to final topcoat selection, this complete guide walks you through every stage of cabinet painting - so you can make confident, well-informed decisions before work begins.
What Is Cabinet Painting and Why It Outperforms Full Replacement
Cabinet painting is the process of professionally stripping, priming, and refinishing existing cabinet frames and doors - without removing the underlying structure. The result looks brand new, but the timeline and cost tell an entirely different story.
The Case Against Full Replacement
Tearing out and replacing cabinets can cost three to five times more than a professional refinish, while consuming weeks of your household's routine. Cabinet painting delivers the same high-end visual impact in a fraction of the time - and with far less disruption for families who cannot put their kitchen on hold.
Concrete Advantages Worth Knowing
- Cabinet painting preserves your existing structure, eliminating demolition waste and complex installation.
- Professional surface preparation prevents uneven finishes and premature paint degradation common in DIY attempts.
- Refinished cabinets integrate naturally with new countertops or backsplash for a fully coordinated kitchen upgrade.
Renovation4U has refined this approach across Schaumburg and the surrounding 65-kilometer radius for over two decades - turning worn cabinetry into polished, durable surfaces without the cost or chaos of full replacement.
How to Assess Whether Your Cabinets Are Ready for Cabinet Painting
Before committing to cabinet painting, a thorough inspection can save you time and money. Start by pressing firmly on corners and joints, checking for soft spots, delamination, or water damage. Solid, stable frames are prime candidates - minor scratches and old paint layers are exactly what professional preparation handles.
Check Surfaces for Deep Damage
Run your hand across each door and drawer front. Small dents or shallow scratches? Skilled contractors sand and fill those before priming. Deep gouges, cracked joints, or warped panels, however, won't disappear under paint - those may require replacement rather than refinishing.
Evaluate Hardware and Hinges
Loose hinges or misaligned doors signal wear that paint alone cannot fix. Tighten or replace hardware before cabinet painting begins. When frames are square, surfaces are stable, and hardware functions properly, your cabinets are genuinely ready for a stunning transformation.
Choosing the Right Paint and Primer for a Lasting Cabinet Painting Finish
The material choices you make before picking up a brush determine whether your results last two years or twenty. For cabinet painting, the winning combination is straightforward: a high-adhesion primer paired with a water-based alkyd topcoat. High-adhesion primers bond aggressively to existing finishes and bare wood alike, giving subsequent coats a surface they can truly lock onto rather than simply sit on.
Why Water-Based Alkyd Wins
Unlike standard latex, water-based alkyd cures into a hard, durable film that stands up to chipping, grease, steam, and the relentless daily use that kitchen surfaces endure. It also self-levels exceptionally well, reducing brush marks and producing the smooth, factory-quality appearance homeowners want.
Never Rush the Primer Stage
Skipping or shortcutting primer is the leading cause of rapid paint degradation. Professional cabinet painting contractors - including Renovation4U's specialists serving the Schaumburg area - treat primer application with the same precision as the finish coat, ensuring consistent coverage on every edge, corner, and recessed panel.

Essential Tools and Materials for a Professional Cabinet Painting Project
Rushing into cabinet painting without the proper toolkit is one of the most common mistakes homeowners make - and the results are impossible to hide. A professional-grade finish starts long before the first coat is applied.
Surface Prep Essentials
Fine-grit sandpaper (180-220 grit) smooths existing surfaces and promotes adhesion, while tack cloths remove every last trace of dust before priming. Painter's tape protects hardware, hinges, and adjacent walls with clean, crisp lines that separate amateur results from truly polished work.
Application Tools That Matter
For cabinet painting, a high-density foam roller delivers a glass-smooth finish across flat panel surfaces, effectively eliminating brush marks. Pair it with a high-quality angled brush for corners, edges, and recessed details. Skimping on brushes at this stage directly impacts the final result - this is not where you cut costs.
Step-by-Step Surface Preparation Before Cabinet Painting
Paint won't bond to a greasy, dusty surface - no matter how premium the product. Before any cabinet painting project begins, every surface must be thoroughly cleaned, sanded, and primed. Skipping even one of these steps dramatically shortens the finish's lifespan and invites chipping, peeling, and uneven sheen.
Degreasing and Cleaning First
Kitchen cabinets accumulate years of grease, cooking residue, and fingerprints. A dedicated degreaser - not just dish soap - is essential for breaking down this invisible film that prevents proper paint adhesion. Once clean, the surface must dry completely before moving forward.
Sanding, Priming, the Right Order
- Sand all surfaces with 150-grit paper to create a mechanical bond for the primer.
- Apply a high-adhesion primer formulated specifically for wood or MDF cabinetry.
- Lightly sand between coats to eliminate raised grain and ensure a flawlessly smooth finish.
With over two decades of finishing experience, Renovation4U knows that cabinet painting results depend 80% on preparation. A methodically prepped surface is the real difference between a finish that lasts years and one that chips within months.
Cabinet Painting Techniques That Prevent Uneven Finishes and Peeling
The difference between a flawless result and a kitchen eyesore often comes down to application discipline. Thin, even coats applied along the wood grain allow the paint to bond properly - rush the process, and you invite brush marks, bubbling, and premature peeling.
Layer by Layer, Not All at Once
Successful cabinet painting relies on patience between coats. Each layer must cure fully before the next goes on; skipping this step traps solvents beneath the surface and weakens adhesion over time. Renovation4U's contractors, backed by over two decades of finishing experience in the Schaumburg area, follow a proven coat-and-cure sequence that eliminates guesswork entirely.
Habits That Protect Every Coat
Consistent cabinet painting technique comes down to a few non-negotiables:
- Apply thin coats with a high-quality brush or foam roller, always following the grain direction.
- Allow each coat to dry completely, then lightly sand between layers for a smooth, even build.
- Use a bonding primer suited to the cabinet material before applying any topcoat.

Color Selection Tips to Maximize Your Cabinet Painting Results
Color shapes how a kitchen feels long before any fixture earns attention. Warm whites - soft cream, warm ivory, or classic off-white - open up compact spaces and pair effortlessly with virtually any countertop material. Soft grays bring understated sophistication that travels well across evolving design trends, while muted navy adds depth without visual clutter.
Start With Your Countertops
Before committing to a palette, hold paint swatches directly against your countertop and backsplash materials in natural light. Cabinet painting succeeds or fails at this single coordination step. Renovation4U's consultants guide Schaumburg-area homeowners through exactly this process during complimentary project assessments - at no cost and no obligation.
Invest in Timeless, Not Trendy
Bold accent colors cycle out faster than quality paint degrades. Neutral tones ensure your cabinet painting investment stays visually relevant for years, protecting both the aesthetic and the property value you worked to build.
How Long Does a Cabinet Painting Project Take and What to Expect
A standard cabinet painting project completed by a professional contractor typically spans two to four days - far less disruptive than a full cabinet replacement. With over two decades of experience, Renovation4U structures every phase efficiently, keeping your kitchen accessible and your household routine largely intact.
Day-by-Day Project Breakdown
The work follows a clear, predictable sequence:
- Day 1: all surfaces are thoroughly cleaned, degreased, and primed for maximum adhesion.
- Day 2: the first finish coat is applied with professional-grade tools and techniques.
- Days 3-4: additional coats cure fully and hardware is carefully reinstalled.
What Homeowners Should Know
Professional cabinet painting generates minimal mess and noise compared to a full remodel. Renovation4U provides a complimentary consultation upfront, giving you a precise timeline, project scope, and cost estimate - so there are no surprises once work begins.
Cabinet Painting Costs: DIY vs. Hiring a Professional Contractor
DIY cabinet painting might seem like a budget-friendly shortcut - and upfront, it often is. Materials alone can run $200-$600, but that figure rarely accounts for specialty tools, prep supplies, or inevitable do-overs. One skipped sanding step or poorly applied primer can mean peeling paint within months, wiping out any initial savings.
The Hidden Price of Mistakes
Brush marks, uneven coats, and adhesion failures are the most common DIY pitfalls - and fixing them typically costs more than hiring a professional from day one. Renovation4U's two decades of finishing experience mean projects get executed correctly the first time, with no callbacks or costly corrections.
What a Pro Actually Delivers
Professional cabinet painting produces a factory-quality, durable finish built to withstand daily kitchen wear. Renovation4U offers complimentary consultations and detailed quotes, so homeowners understand the full scope and investment clearly before any commitment is made.

Combining Cabinet Painting with Countertops and Backsplash for a Full Kitchen Refresh
Tackling your kitchen refresh as a single coordinated project - rather than a series of disconnected upgrades - delivers a dramatically stronger result. When cabinet painting is planned alongside countertop installation and backsplash work, every element is chosen to complement the others: paint tones echo stone veining, grout lines harmonize with door finishes, and the overall palette reads as intentional rather than assembled.
One Phase, Total Transformation
Renovation4U's comprehensive service model across the Schaumburg area and its surrounding 65-kilometer radius makes this coordination seamless. Their team handles all three elements under one roof, eliminating scheduling conflicts and ensuring color consistency from ceiling to countertop - something no piecemeal approach can reliably achieve.
Smarter Investment, Cleaner Timeline
Combining cabinet painting with surface upgrades also compresses your renovation timeline significantly. A single complimentary consultation with Renovation4U maps out the full scope upfront, so you understand every cost and deadline before the first brush touches a door.
How to Maintain and Clean Painted Cabinets for Long-Term Durability
Protecting your investment starts with simple, consistent habits. Quality cabinet painting - especially with professional primers and topcoats - can last a decade or longer, but only when treated with everyday care. The key is gentle, routine maintenance rather than aggressive scrubbing sessions that damage the finish irreparably.
Daily Cleaning Best Practices
Reach for a soft, damp microfiber cloth and a drop of mild dish soap for regular wipe-downs. Avoid common mistakes that quietly shorten cabinet life:
- Never use abrasive scrubbers or steel wool - they scratch and dull the paint film.
- Dry surfaces immediately after cleaning to prevent moisture from lifting the finish.
- Keep cabinet interiors ventilated to stop humidity from degrading the paint underneath.
Seasonal Inspection Routine
Every few months, examine high-contact areas - edges, handles, corners - for early chips or scuffs. A small touch-up now prevents a costly repaint later. Renovation4U's contractors, with two decades of experience in cabinet painting, recommend scheduling brief annual check-ups to keep your kitchen looking sharp and your finish performing long-term.
Common Cabinet Painting Mistakes and How Experienced Contractors Avoid Them
DIY cabinet painting looks straightforward until the finish starts peeling two weeks in. Skipping primer is the single most damaging shortcut - without proper adhesion, even quality paint fails fast. Rushing between coats traps moisture and prevents proper curing, while poor ventilation causes dust contamination and solvent buildup. These are not minor oversights; they are the primary reasons amateur cabinet painting projects disappoint.
The Professional Prevention Checklist
Renovation4U's two decades of finishing experience translate into a disciplined process that eliminates guesswork:
- Primer is always applied to properly cleaned, deglossed surfaces before any topcoat.
- Each coat is given full cure time, strictly following manufacturer specifications.
- Ventilation is assessed and actively managed on-site to ensure a dust-free environment.
Why Experience Changes Results
Professional cabinet painting delivers consistent, durable finishes because experienced contractors identify failure points before they occur - not after the damage is already done.

How to Get a Free Cabinet Painting Consultation and Quote in the Schaumburg Area
Getting started with your kitchen transformation is straightforward. Renovation4U offers complimentary on-site consultations to homeowners throughout Schaumburg and within a 65-kilometer radius - no commitment required. During the visit, an experienced specialist evaluates your cabinets, discusses your design preferences, and outlines realistic expectations for the project outcome.
What Your Quote Covers
The detailed quote you receive breaks down every element of the cabinet painting project: surface preparation, primer application, finish coats, and timeline. With over two decades of experience, Renovation4U ensures full transparency before any work begins, so there are no surprises along the way.
Schedule Your Consultation Today
Ready to explore what professional cabinet painting can do for your kitchen? Contact Renovation4U directly to book your free consultation and take the first step toward a refreshed, lasting finish.